Tuesday, March 20, 2012

Kids Art: Spring Chicks Collage

kids craft spring chicks collage

Feeling the irresistible urge to commemorate Spring Equinox in some way, I wanted to share this simple collage that kids and I made with our favorite textured papers, and a few other readily available materials at home. Arts/Crafts supplies are usually handy at home, all on low shelves for kids to reach and use at will.

What with being hit by a few storms back to back, and little snow flurries even though Spring is around the corner, I was looking to do something to lift our spirits, and this collage just suggested itself one wonderful night. (Boy am I glad I have the "Ideas Book" by the bed to jot down such things.)

Oggie made the background paper using his current favorite technique: Watercolor Plastic Wrap. I restricted the colors to the ones seen in the picture to keep the theme of Spring. Just mixed the 2 colors rather dilute and told him to do one color at a time, blue for the sky and blue+yellow for the grass/ground.

Ana helped with the Pom-Pom Chicks: Simply cut open a fat/large pom-pom so it has a flat side that makes it easier to glue it on the paper; plus gives a fluffy new baby chick look. Add eyes and beak and it is too cute to let go.

I did the eggs just for fun: card stock paper with designs using markers. Used a small piece of accordion-folded paper to 'pop-up' the eggs so it looks like the chicks are just hatching.

We were going to add on some strips of finely shredded tissue paper and yarn and maybe twigs from the garden to make a nest where the chicks are hatching, but, this looked simple and bright enough that we left it there.

I had a spare mat that I used to frame this work - it turned out rather cute according to the kids. I agree :)

Labels: , , ,

Friday, March 09, 2012

Kids Art: Textured Paper Bookmarks

textured paper


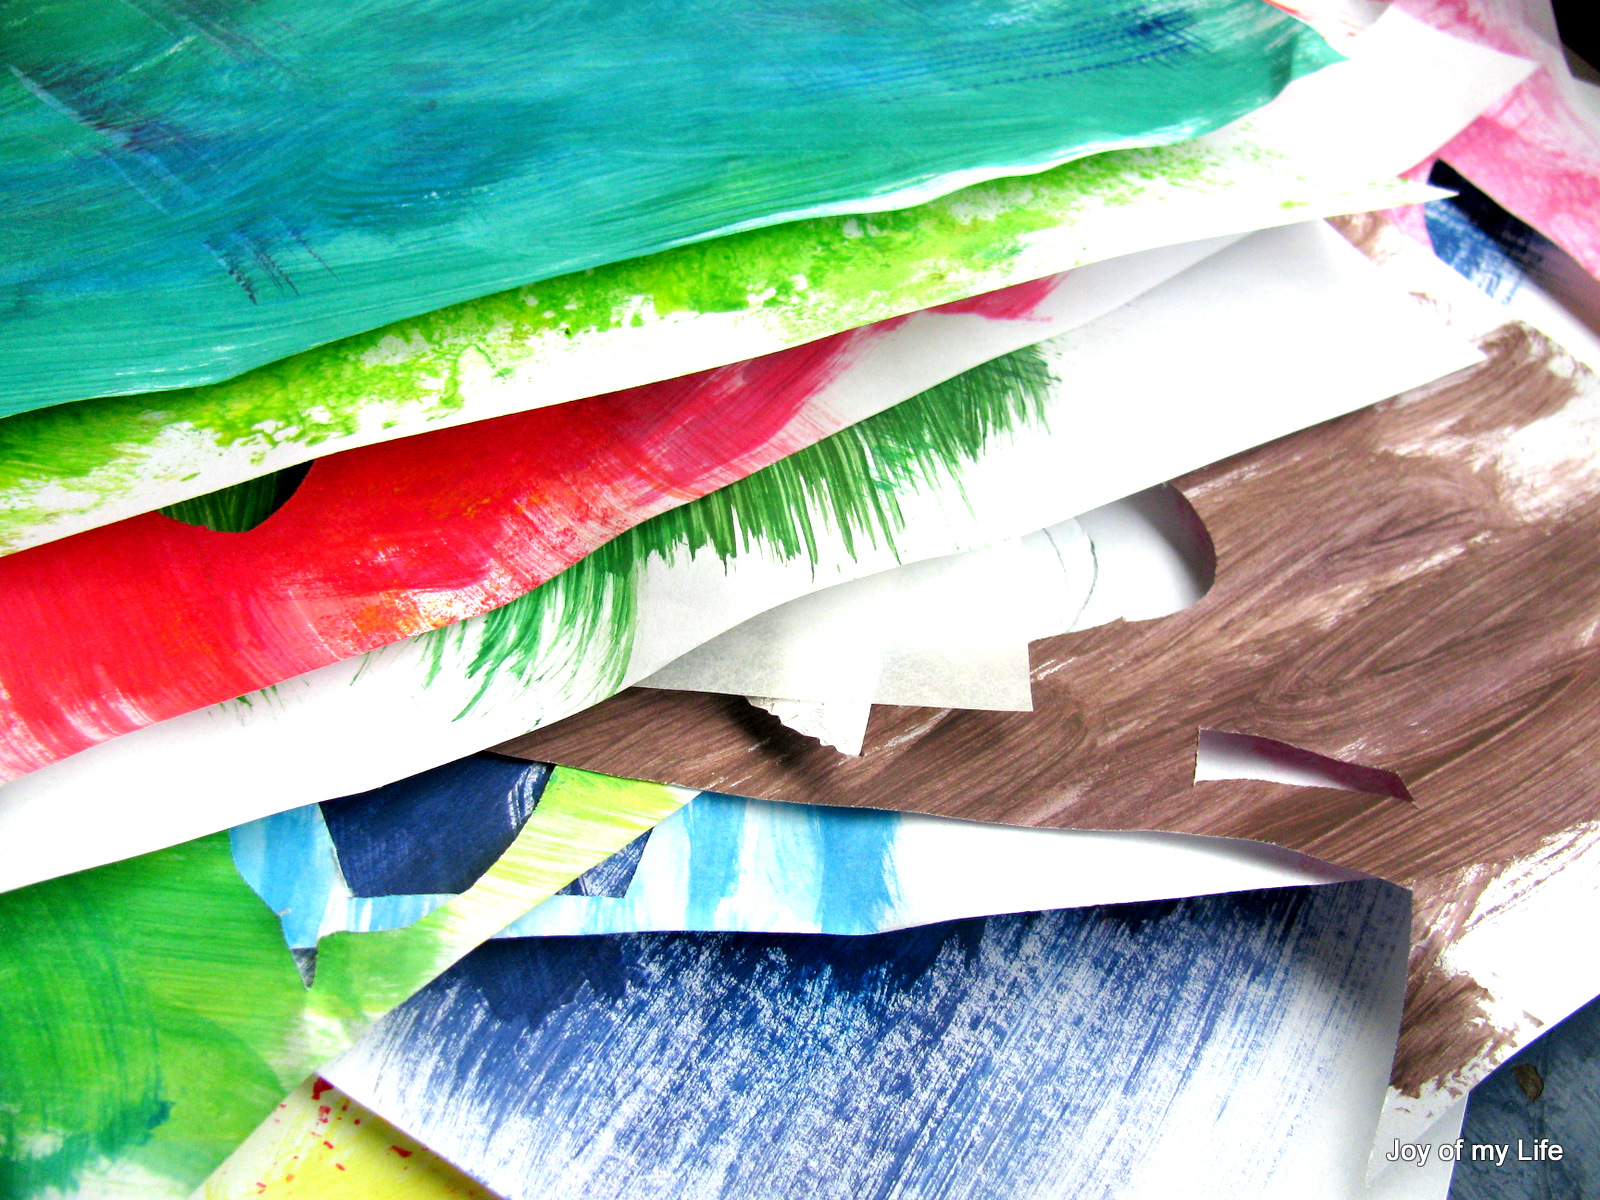
It's no secret that we love making painted textured papers at home. The kids and I try various materials to create textures, and over time, I have settled upon a few trusted favorites to produce the effects we like and keep going back to: #12 flat brush, natural sponge, scrubber sponge, paint roller, toothbrush.

As always, any available paper is game, but a staple is the plain backside of used copy/print paper.

Anyway, this set of papers were such fun as Oggie was zooming on full throttle, raring to go: picked out the colors we should mix, settled at his table with a stack of papers and materials, ready to paint away.

painted textured paper

I doled out some lightly diluted red, yellow, blue, and white tempera paints in small canning jars, as usual. And gave him one of my paint palettes to start mixing. We talked about what we wanted to use the textured papers for: to make fruits collage for the Bookmarks, something that celebrates books, and something that inspires...

Which helped us zero in on the colors we wanted to end up with during the mixing process - purplish blue for plums, orang-ish red for strawberries, orange for oranges,  green plus a bit of yellow for pears.

Now, we did toss around ideas for various fruits until we agreed on the fairly good-sized ones (I *might* have steered him a bit towards fruits that are easier to cut out and collage). Blue for blueberries was a given, but, little tiny blue circles seemed a bit tedious to cut out as I would be in-charge of the cutting.

Inspiration comes from many places and am sure we were strongly influenced by a firm favorite book on our bookshelf, which set the direction for our work.

After painting the papers, we set it out for drying; I cut out the shapes; Og helped glue many of them (not all) on to the bookmarks; I added a few words; and they were ready!

Except, we were using a couple and found that the precious fruits kept wanting to snag on paper; so we decided to laminate the bookmarks


Labels: , , ,

Wednesday, February 22, 2012

Kids Art: Net-Painted Pond Fish Cut Paper Collage

kids art net painted pond fish cut paper collage

On and off we love to make textured papers in various colors - a great way to use up paints doled out for that session, as well as to explore various materials to create textures.

Once the painted textured papers are dry, they get sorted by color and put into the "Specialty Papers" cubby.

Many fun projects have come out of sifting through the specialty papers we've collected over time and finding new ways to use them. Most often they end up as cut-paper collages or Valentine hearts or greeting cards, something special.

One of the techniques we learnt from Irene Luxbacher's Jumbo Book of Art is to do "Net Painting" to create the scaled texture of fish.

kids art net painted pond fish cut-paper collage


Items Used:
A net bag such as the ones onions or fruits come in
acrylic paints (or tempera)
rag cloth pieces
cardstock (or other heavyweight) paper
rubberband or string or yarn to tie the net bag
  1. Stuff a few pieces of rag cloth in the net bag and tie it closed.
  2. Dole out some acrylic paints on a plate, dip the net bag filled with cloth, dab onto the cardstock paper.
  3. Experiment first with how much pressure to apply, and how much paint to pick up to create the desired texture; try a combination of colors; add acrylic medium if the paints are too thick, or dilute a bit with water.
  4. Allow to dry and cut out fish shape for the collage

Textured Papers Used for this Net-Painted Pond Fish Collage:

1. Background is Watercolor Plastic Wrap paper
2. Pond vegetation is Salt Sprinkled paper and Watercolor Plastic wrap paper
3. Fish is from Net-Painted paper

Oggie helped make the background and pond vegetation papers.

Ana helped with net painting and cutting out the pond plants and fish.

I added the details to the fish using chalk pastels and composed the collage.

Both the kids helped "glue" the pieces with the double-sided tape for added dimension.

Labels: , , , ,

Monday, February 06, 2012

Kids Crafts: Six Crafts from the Six Year Old


I have an idea, Mama! I can use this flower as a skirt for the fairy and make her with a Popsicle stick... I am going to glue yarn for hair... hmmm what can I do for her tops, Mama? She needs to have pretty tops that matches her flower skirt...

On an average day, there are about half a dozen project ideas Ana throws out into the aether.

I am going to make a collage, Mama, with ocean scene; ocean background is with watercolor plastic thingy, with cool colors, mostly blue and purple, maybe some green; then I am going to sponge-paint warm colors on another paper and cut out fish from it; maybe I'll cut out some sea creatures from white paper and then do salt-sprinkled painting on them...

Of course, some of these ideas just float away into deep outer space. But, some others just pop up and get done right away.

Anyway, I was sorting through my photos wondering which ones to back up and such when I noticed a bunch of Ana's works I had clicked - things that absolutely blew me away, not because of the end result, but because of how it made her feel, having created them on her own, and thereby how it etched itself in my memory.

The projects themselves may not look spectacular in an objective sense, but, to me they are absolutely special as it came from within her - from concept to choosing materials to execution it was all done with joy and focus entirely on her own.

Pom-Pom Chicken


Items Used: Large pom-pom, Pipe Cleaner (Chenille Stem), Popsicle stick ends (for wings), googly-eyes, string, white glue.

After getting the head-and-body done, and the legs done, she tossed around ideas to attach the legs to the body. Gluing didn't work and she got a bit frustrated. Then, she decided to tie it with a string and it held. She said she was going to try sewing it on next time.

The interesting part for me was her choice of material for wings - ends of a Popsicle stick I had discarded from another project.


Paper Weaving Easter Basket


Items Used: Colored construction paper, scissors, tape, paper fasteners, hole punch

Mama, I am frustrated! One evening, I heard her fuming a bit in her room, as she expressed her frustration. I went in to investigate.

She had done some paper-weaving , rolled it around and taped it to make a short cylinder, and was in the process of attaching a bottom to complete a basket. The bottom circular paper she had cut, of course, was proving to be tricky to tape on.

I casually mentioned that when I was little my mom suggested to cut some notches or slits along the edges and fold the edges up a small portion at a time and tape each part on going around slowly. Which turned out helpful apparently, as she shooed me away to finish her basket.

The best part of this project is that she said she made it for me - my very own Easter basket!


Folded Paper Emperor Penguin


Items Used: Paper, markers

On the ride from school one evening, she held something up from the back seat and excitedly squealed, "Mama! Look!" So, I tilted the rear view mirror and peered in. It was this colorful folded paper penguin.

She held up the book Emperor Penguins and her folded paper penguin side by side and beamed proudly, "See! I just thought of it, and I made it, just now!" I cannot forget that moment. Agreed it is not fancy origami, but, the joy and triumph she felt then is quite something.


Pattern Design Drawing Coloring


Items Used: Shapes/Pattern Puzzle pieces, paper, markers

One afternoon, Og was done playing with this Pattern Puzzle when Ana's interest in it was rekindled. This was, after all, her toy when she was little and she was sure she outgrew it and never thought twice about letting Og use it until then.

What I liked was not just that she made up that lovely pattern on her own but that she didn't stop there. She brought out a piece of paper, slid it under the puzzle, traced the outline; then, pulled out one piece at a time to trace the insides. Finally, she colored it in with markers.

For the good part of an afternoon this project was self-motivated, self-initiated, and self-completed, in a matter-of-fact way. No gushing, no fussing at the end, except an awkward, "I goofed up a bit, Mama, if you look closely you'll see. But that's okay. It was fun to do this."


Cookie-Cutter Gingerbread Cookie Man Card


Items Used: Cookie cutter, colored construction paper, decorative edge scissors, crayons, pencil, cardstock paper for the greeting card

"I am going to make a card for Nana, Mama", she declared sometime early last December. And that is precisely what she did.

I liked that she cut out the cookie shape from the white paper, then added a brown paper at the back, rather than cutting the shape on the brown paper, or coloring the white paper in with brown. It is quite tricky to cut out a shape with so many curves.

I also liked that she layered the work, mounting it on green paper, and then gluing it on to the red card front adding dimension, choosing the popular colors of the season, so the final card is not flat.

And, she repeated the cookie man theme and traced one inside the card as well. And, wrote Feliz Navidad, which took me by surprise.

Anyway, the card itself is not stunning per se, but when she showed it to me saying, "Do you want to know how I made it?", I could see her insides bursting to share. So, even though I could very well guess how it was made, I listened attentively and asked her to give me a lesson on it someday.

What did Nana think when she got it? She loved it, of course!


Pine Needles Pine Tree, with Snowman


Items Used: Pine needles, color pencils, paper, tape

This project stuck in my head because it was a Saturday night, a "camp-out" night with Mama. She usually chooses a movie and we watch it together. But, that night she just wanted to do this project. No movie.

As usual, her pockets were bulging with collection from the nature walk around the neighborhood that evening. We pressed some of the flowers and leaves, but she placed the pine needles on the table and insisted she has an idea that she must do now or she'll forget.


She has taken to fancy lettering - experimenting with writing her name in various styles. I remember loving this activity when I was young.

Labels: , ,

Sunday, January 08, 2012

Dinosaur Excavation, Fairy House, Spin Art, Hanging Decoration


Just some random things we were doing in the last quarter of 2011. I was sorting through the photos and thought Ana might like to read this some day...

A dear friend of mine sent us this Dinosaur Excavation Kit. Comes complete with pieces of dino skeleton buried in plaster, plus tools for excavation. This was a Daddy/Daughter excavation start to finish, done in small installments over a couple of weeks. I simply wielded the camera and hovered around on and off.


Naturalist and Film-maker Nigel Marven's Dinosaurs Book and Walking With Dinosaurs Movie helped us learn more as we tried to understand how paleontologists have painstakingly uncovered evidence and proposed theories based on their finds. The miniature excavation at home revealed assorted bones of a triceratops, (which wasn't a surprise as the picture on the box showed it), but, it was a good exercise to put the bones together to make the whole skeleton.


Building Fairy Houses and Nests are a favorite backyard activity for Ana. And, as long it interests her, I am just fine with it. Within 4 minutes of stopping on the wayside during our recent trip to let Oggie do his business  (which he didn't!) as we were miles away from the next rest stop, Ana had a whole collection - assorted colored and shaped rocks, shells, leaves, twigs, and even a sand dollar (wonder how it got there, we were miles away from any beach). Which is to say that her pockets and bags fill up with Nature Things fast. I hope she never outgrows this connection to nature. I was a city girl growing up - backyard gardens and parks were all the nature I experienced aplenty.


Spin Art is something we do on and off. Nothing fancy. However, I was pleasantly surprised to discern an elegant red bird (with an eye to boot!) flying against a sunset sky in one of the spin art paintings.

We just use the good old salad spinner and some paints. We try acrylics, tempera, even water colors. We try different consistency/dilution of paints to see how they flow. I just cut one-side-print paper to fit the salad spinner. We experiment with different papers too - card stock, construction, heavyweight.

I am surprised I haven't posted it here in the art exploration series so far, so here it is. If the colors and pattern look good, we cut pieces from it to make collage or card later.


After her first Hanging Decoration Fish project, we've done a few more. This is a Winter Holiday themed one that Ana made for her Nana - Snowman, Gingerbread Cookie Man, Christmas Tree, Candy Cane, and Stocking. And sure enough Nana was proud to hang it up when Ana gave it to her during our recent visit.

[vintage image source: http://www.vintageprintable.com/wordpress/]

Labels: , ,

Friday, August 19, 2011

Kids Craft: Bits of Paper Greeting Cards

One of the skills Oggie started working on this Summer is Cutting (Paper) with Scissors. He still has quite a ways to go before we try complex cutting exercises, but, it is a nice activity for developing fine motor skills at 3-ish.

Whether I was ready or not he seemed ready for it. Every time Ana did her art/craft work involving cutting this summer, he started observing her keenly, trying to imitate her. So, I finally set up an activity tray with the required materials for him to do it any time he wants.

I remember Ana at about 3-ish was also working on her Cutting skills. She seemed quiet and steady, rather focused and involved in her activity. Oggie seems more effervescent and chatty in comparison, while still enjoying his activity.


And to make the cutting activity more fun and to not waste the bits of paper, we decided to make simple greeting cards, with Oggie doing most of the work and me adding the finishing touches.

Og has done quite a bit of gluing so far, sometimes just for fun, sometimes to assist me, and sometimes to make greeting cards like Valentine Cards, Penguin Holiday Cards.

The dozen-odd cards came about over several cutting and gluing sessions. Some days he likes to work on this activity for up to an hour cutting and gluing with intense focus, some days just cutting 3 or 4 colorful strips into bits, some days just gluing the bits he has saved and so on. I turn them into greeting cards as and when I find time.

Items Used: Construction paper (various colors), kid-safe paper-cutting scissors, glue stick, card stock paper (various colors from remnant stacks), printed messages like 'Thank You', 'Happy Birthday'

I save leftover bits from Ana's collage work, one-side printed papers and such hoping to use them later. I have a dedicated shoebox for collecting colorful scraps of paper. Also, assorted plain or printed paper stacks are on sale on and off - office supply store or craft store usually have them for marked-down prices as these are basically little pieces of paper that they cannot sell otherwise.

Preparation: Snip the colored construction papers (or any other colorful paper) into ½-inch or 1-inch wide strips about 5 or 6 inches long so the small hands can handle it better. Or, cut uneven fringes on a piece of paper so that a single successful cut by the child can generate many bits of paper at once. Have a few 3x4 or 4x4 or 4x5 inch plain pieces of paper handy for sticking the bits of paper onto.

  1. Let the child practise cutting the strips of paper into smaller bits. They need not be uniform. Thinner paper makes it easier for the beginners to cut (and feel successful) so I use just colorful copy paper or bond paper or construction paper. Og didn't like the non-uniform fringe paper I had prepared so we went with the strips of paper
  2. The child can apply glue to a square or rectangular plain piece of paper and stick these cut bits of paper. With Ana and now Og, I find that it is less frustrating for them to apply the glue stick over a larger area rather than try to apply glue to each bit of paper and stick it on. The bits to glue on can be monochromatic or colorful, I left that to Og and he did both
  3. Glue stick seems less cumbersome and easier to use for small hands; liquid white school glue is messier and harder to control for Og. However, with Ana I remember that diluted white glue with a brush to apply it worked better. Oggie just spills it and makes a mess.
  4. Allow to dry. Trim this Mosaic piece of paper to desired size for greeting card.
  5. Mount this trimmed piece of Mosaic paper on colorful cardstock slightly larger to have a contrasting border
  6. Glue this to the front of a folded greeting card.
  7. Have the child glue a printed message inside et Voila!

With Ana, I used to draw an outline of a simple object - like robot, jack-o-lantern, flowers - and have her glue the bits of paper to bring out the image of the object.

Labels: , , , ,

Saturday, November 13, 2010

Kids Crafts: Capture the Summer Shore


Autumn is beautiful. The burst of colors, the changes all around, the harvest bounty, the preparation for the colder months ahead... something to cherish and appreciate.

Autumn brings not just falling leaves, but falling rain for some of us. Lots and lots of rain. Now that we are in the thick of autumn, summer seems like a distant memory. As the soggy air and gloomy skies confines us indoors more and more, these simple crafts done as a farewell to summer lifts our spirits.

Beach-combing during summer was fun with Ana. We collected quite a few interesting items, cleaned and stowed them away, hoping to use them when inspiration hits.

Items used: shells, glue, construction paper, poster paper, scissors, tempera paints, toothbrush

Four simple projects: [clicking on individual images below shows a nicer, clearer picture]
  1. Beach Scene Collage
  2. Shell Butterfly
  3. Shell Wind Chime
  4. Recycled Foil Mobile
1.Beach Scene Collage


  • We tried this on black poster paper as well as white; poster paper is thicker than card-stock and can bear the weight of the shells better; of course any heavy paper would work well; I personally liked the black background for this collage.
  • Simply use the toothbrush to pick up and spray some paint to create the "sand".
  • Glue some shells, perhaps some dried moss; for the waves, we tried torn tissue paper on one, and wavy-cut construction paper in the other collage.
  • While the perspective and proportions are terrible, the boat on the ocean, looking out onto the shore on black background turned out to be our favorite
  • Cutting the crab was easy enough once I drew the lines for Ana, but, gluing it on wasn't as satisfactory so she enlisted my help.
2. Shell Butterfly


kids craft beach summer sea shells crafts collages
  • One of our beach-combing finds was a set of clam shells of varying sizes; as she tried different configurations for gluing it on the collage, she realized it looks like butterfly wings, which led to this little project
  • Again, we tried on black and white poster paper; clam-shell for one (which is hinged and folds in half usually), and two regular shells for another.
  • Apply glue to the butterfly body shape and shake some colorful glitter, allow to dry; or simply paint the body.


kids craft beach summer sea shells crafts collages

3. Shell Wind Chime
  • Some interesting driftwood and twigs were among our beach-combing finds; I liked this particular curly piece of wood to make a sort of mobile or wind-chime.
  • Simply tie the shells close to each other, using cotton yarn, at varying heights if preferred; any configuration is fine as long as two of them are close to each other so they can clang and make music when the wind blows.
  • Or, can string a small bell before attaching the shells for extra music


4. Recycled Foil Mobile

kids craft beach summer sea shells crafts collages
  • There is usually some aluminum foil from some baking or food wrapping for kids that, after a couple of uses, seems unfit for reuse; we clean and smooth some of them out as much as possible and store them for foil creatures.
  • Shape the foil, glue on tissue paper using glue diluted with water, allow to dry; add a layer or two of paint if preferred.
  • For the summer shore theme, we made sea stars, sea gulls and sea shells. However, can do pumpkins and apples for fall, stars and ornaments for the winter holidays... shaping is the tough part: Seagull was just a kidney bean shape and shell was sort of like a fan which Ana could handle; sea star was tricky for her (and for me) to shape, but was fun.

kids craft beach summer sea shells crafts collages

The wind chime and mobile have survived hanging on the deck during these past few weeks despite the gusty winds thrashing them around callously. And the collages cheer up the wall on the nook which I get an unhindered view of them every time I am in the kitchen; while the living room highlights the Autumn crafts we've been making...

We'd probably start on some holiday crafts after Thanksgiving, but, for now, it is nice to the have kids' work (well, Ana's mostly) capture the moods of the seasons...

Labels: , ,

Monday, August 02, 2010

Kids Art: Paper & Fabric Collage

Kids Art: Paper and Fabric Collage self-directed expression

Over the last month or so, seeing all the little fabric scraps leftover from my sewing, Ana has taken to some sort of Paper & Fabric Collage work. Nothing fancy, just a simple activity that keeps her busy for a couple of hours on some afternoons.

For her "art projects" these days, she declines any guidance or direction I try to offer. "I like to do projects when it is my idea, Amma. You can use your ideas for your own projects."

This is music to my ears. Our art explorations so far has been very relaxed and open-ended, most of my contribution aimed at presenting some simple tools and techniques that she can take and adapt to her style and creative expression.

So, while there are lots of websites with specific directions and suggestions for Fabric Collage projects, letting her come up with whatever she likes was the natural way for us to go. Not only does this give me the opportunity to watch and encourage, it certainly lets her flex her wings and explore self-directed expression.

Items Used: Scrap fabric, glue, paper, scissors, watercolor paints, glitter, feather, yarn, googly-eyes, and other embellishments.

Sometimes, it is quite abstract like this piece here: caterpillars on leaves and happy animals in a fairy garden.

Kids Art: Paper and Fabric Collage self-directed creative expression

Sometimes it is quite concrete, like a princess in her garden with lots of butterflies, where she requests my drawing skills, such as they are.


We've been making monthly calendars - just a large enough piece of easel paper, with a number grid for the days. Usually, she does it in school during the school year, thanks to her teacher. Each of these sheets sports some art work above the number grid, something that Ana did. For July, she went with her current favorite - Paper and Fabric Collage.

The theme for this collage was Flowers in Bloom in a Fairy Garden, which she specifically requested me to draw on the paper so she can glue on the fabric pieces. I happily obliged, of course, glad to be part of her creative world again.

Kids Art: Paper and Fabric Collage self-directed creative expression

Every once in a while, the artwork in a book we've read recently inspires her and she speculates on how it was done. While I may not have a satisfactory response, we talk about how we can do something like that with the materials handy. That's how these fish came about. I drew a rough outline for the fish, she glued the fabric and we finished the rest of the fish with watercolor and googly-eyes.

Kids Art: Paper and Fabric Collage self-directed creative expression

As is evident, none of these pieces are spectacular in the conventional sense. But, from my perspective, the end product's virtues rank far below the joy and accomplishment she feels during the process.

Afternoons, after lunch, is free play time for Ana. She can do anything she wants. Sometimes she plays with her paper dolls. Sometimes she reads her current favorite set of books. Sometimes, she plays with Enid, or Polly Pocket. Sometimes she does some simple craft or art project, like these collages. Until Oggie wakes up from his power-nap, that is. At which point, the entropy of the household changes rapidly...


Labels: ,

Thursday, August 20, 2009

Kids Art: Simple Greeting Cards

Helping me decorate the stocking fish, while fairly entertaining, did not satisfy Ana's need to express her current creative streak.

So, I suggested that she make some greeting cards to send to grand-aunts/uncles we visited during this trip.

She found herself in quite a bit of inspired mood one morning to churn out color pencil designs on her own. Good old Camlin colour pencils seemed to work really well for Ana. I am saving the Faber-Castell for later.

It took me by surprise how close she got to what she was attempting to portray - especially the peacock and the paisley mango pattern she saw on the pillowcase - the bottom two cards in the collage below. Okay, I admit, I am biased... but, mommies are allowed to gush, right?!

kids pencil colored designs thumbprint caterpillar greeting cards kids art

While she was at it, I suggested that she can make her favorite Thumbprint Caterpillar as well. Now, since this involves using various acrylics and poster colors from my mom's stash, I sat nearby to open/close the bottles and make sure there were no accidental spills.

Being the prissy little thing she is, she insisted on having half a mug of water and a towel handy so she can wash out her thumb between colors :)

And, not wanting to waste paints, I had her make a few simultaneously. As I couldn't help myself, I added the "face" for the caterpillars.

thumbprint caterpillar greeting cards kids art


And, just for fun, I got her to write I  ♥  U inside the greeting cards, and sign her name. I hope this brings a big smile to the grand-aunts/uncles who will receive it (assuming I manage to post it before I leave).

thumbprint caterpillar greeting cards kids art

Now, even though this has been a long veg-out vacation, we did manage to read books, practice writing letters and numbers on and off, and work with some flash cards. It is probably just the natural developmental stage, but, compared to 2 months ago, Ana seems to be able to hold the pen/pencil better and control her hand movement to create the suggested patterns now.

Usually, developmentally, reading comes before writing as far as I have read, but, I didn't want to push one over the other, so I let her guide me based on her interest. Since most of reading/writing is initially pattern-recognition we've been practicing typing on my dad's machine. I open up Notepad™ set the basic Arial font to 48 point or something large and let her type away... usually, she manages to type the following all by herself:
ana
amma
appa
og

in that order, one word per line, making sure ana is the first one always :)

I am sure Ana (and Og in his own way) will have pogo*-withdrawal symptoms when we get back, but, hopefully they'll have enough activities to keep them busy and happy that they'll soon break out of this TV-habit they easily developed here in India :)

*pogo=children's program TV channel


Labels: ,

‹Older