Kids Art: Winter 'Magic' Painting

We are overly fond of Oil Pastel Resist. (I am. Corollary: Ana is too.)
And we love the amorphous effect of Salt Sprinkled Painting.
This Winter 'Magic' Painting seems to be the latest trend in Ana's impromptu art works. It combines Oil Pastel Resist and Salt Sprinkled Painting in cool watercolors on heavy-weight paper to create winter backdrop for some of the layered/collage pieces, or even as stand-alone pieces.
White oil pastel on white paper creates the 'magic': Since white on white is practically inconspicuous at first, when we wash over it with inky watercolors, it reveals itself.
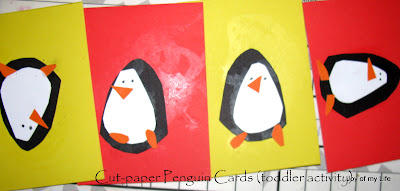
Dots, snowflakes, stars, piles of snow etc., even snowman were Ana's favorite... snow-laden evergreens, penguins on icy shores and such were some of the things I initially shared with her, nothing breath-taking. Most of Ana's creations became Thank You cards we sent post-Xmas.

Items Used: Oil pastels, water colors, faux sable #12 flat brush (or any brush - large flat brush makes the wash easier), common salt (in shaker to minimize mess/wastage), heavy weight paper (card stock is fine, but effects vary with paper weight); optional: scissors, pinking shears, double-sided foam adhesive tape, glue
- On white heavy weight paper, create some design/scene with white oil pastel for the 'magic' painting; (any colored oil pastel can be used for the scenery, reserving the white to depict snow/ice in the finished work)
- Use a large flat brush with inky watercolors to wash over it
- When it is still in the glossy state, not dry yet, but not soggy either, sprinkle salt on the wet watercolors just painted
- Allow to dry completely and brush off the salt

Some of the things we used this for:
- Book Mark: Make Winter Magic Painting on a desired rectangular piece of medium heavy-weight paper; fold in half with a piece of Ric Rac ribbon or raffia in between, and glue together to make a book mark. For extra protection, I "laminated" it with clear contact sheet. For Nana, we glued one of the penguins Oggie made on this wintry background, and Ana wrote, "Happy Reading, Nana!", before I laminated it.
- Cut-paper Collage: Cut out pictures from old greeting cards or wrapping paper, or create your own figures - we went with the ubiquitous reindeer, penguins, snowman, pine tree and suchlike. Glue them on with double-sided foam tape for that extra dimension. We made small 3x5 inch or 4x6 inch ones for greeting cards
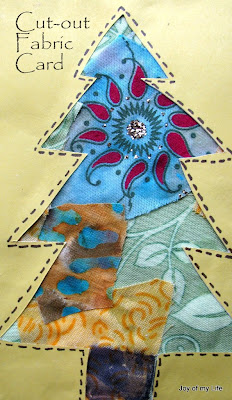
- Cards: Cut a 3x3 inch or so square using pinking shears with interesting edges; glue this with double-sided foam adhesive tape on to a piece of card stock paper that is slightly larger; then attach this combo to the front of a handmade paper card, with mild sprinkling of glitter where preferred
- Rubber-Stamp: We created a whole 8x11 heavy weight paper with teal, indigo, lilac, purple Winter Magic Painting; when completely dry, add snowflake or any favorite rubber stamp in interesting colors. (As before, I like to use food-color inks for rubber stamping). Apply a gentle layer of glitter for that extra magic little girls love
As always, inspiration comes from many places. This combination of Oil Pastel Resist and Salt Sprinkled Painting can be be used for non-winter themes as well, using the white oil pastel to preserve the whites/light where needed.

Labels: art-exploration, arts and crafts, oil-pastel-resist, penguin-cards, salt-sprinkled


